

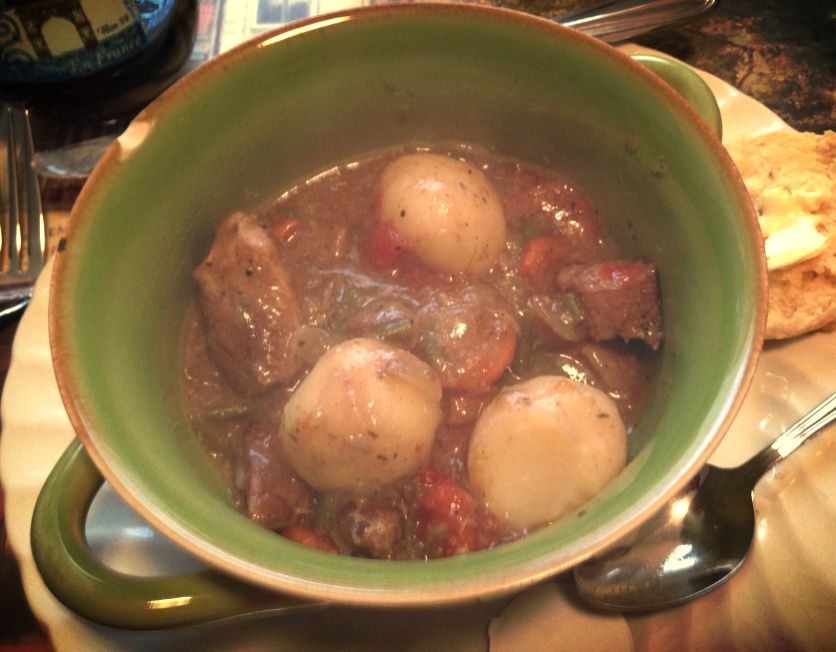
Slow Cooker Beef Stew
Hello everyone! I’m Meagan, from The Curried Nut. My blog primarily focuses on seasonal/local food (holla to any Washington readers!), books, and, increasingly, travel – with a little wine thrown in! I’m so excited to be here and to share my family’s recipe for beef stew with you. There’s something about the onset of fall that makes me want to hunker down with a sweater and huge blanket, listen to the rain pouring outside, and turn on Lord of the Rings with a huge bowl of something hot and hearty in my hands. One of my favorite lines (of which there are many) from the LOTR trilogy comes from Gimli, as the Fellowship prepares to enter the Mines of Moria: Soon, Master Elf, you will enjoy the fabled hospitality of the Dwarves. Roaring fires, malt beer, ripe meat off the bone. My brother and I often quote this line, for one reason or another; and it routinely sums up my sentiments about fall, bringing all of my favorite things into one epic one-liner! The recipe below for beef stew is one I make frequently throughout fall and winter; it’s the perfect stew to dump in the crock pot before I head out for the day, and has the added bonus of meat and veggies all in one dish. Not to mention, it will make your house smell absolutely divine! It can easily be made vegetarian/vegan, or the meat swapped out for another cut or kind of meat altogether. Also, the stew is even better the next day, as the flavors really have time to come together, and the tapioca can thicken a little bit. All cans are ~14.5 oz.
Ingredients: 1 can green beans (with juice)
1 can stewed Italian-style tomatoes (with juice)
1 large onion, chopped, or 1 can pearl onions (with juice)
3 carrots, sliced
3-4 potatoes, cubed, or 2 cans whole potatoes
2-3 lbs. stew meat
1/3 - 1/2 c. tapioca
1/2 tsp. each basil, oregano, and black pepper
Dash salt
Directions:
Combine all ingredients in slow cooker and cook on low for 8-10 hours. Alternately, put in a dutch oven and cook in the oven at 225°F for five hours.
Serve with your favorite dark beer (such as Newcastle Brown, Guinness, or Deschutes Porter) and lembas bread.
Links to favorite posts:
Social media links: