With Halloween parties just around the corner, I thought I'd share these gravestone rice krispie treats.
How cute would these be for a school treat? Their so simple and the kids would love them! Give them a try!
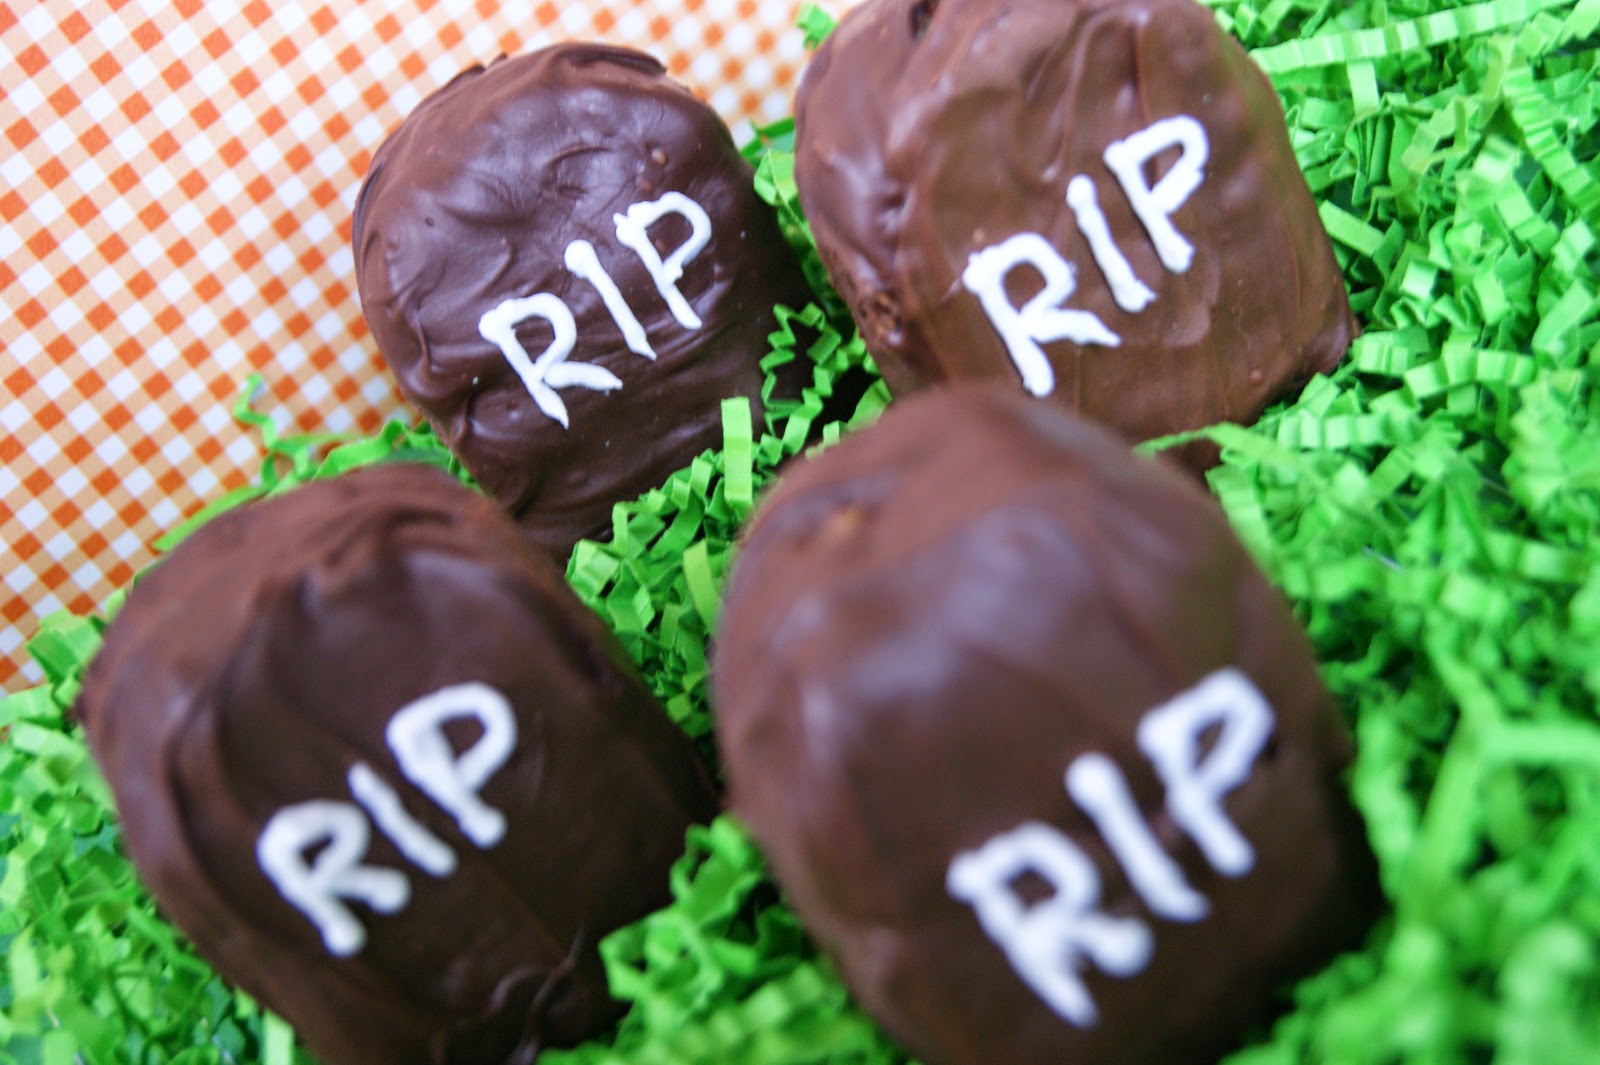
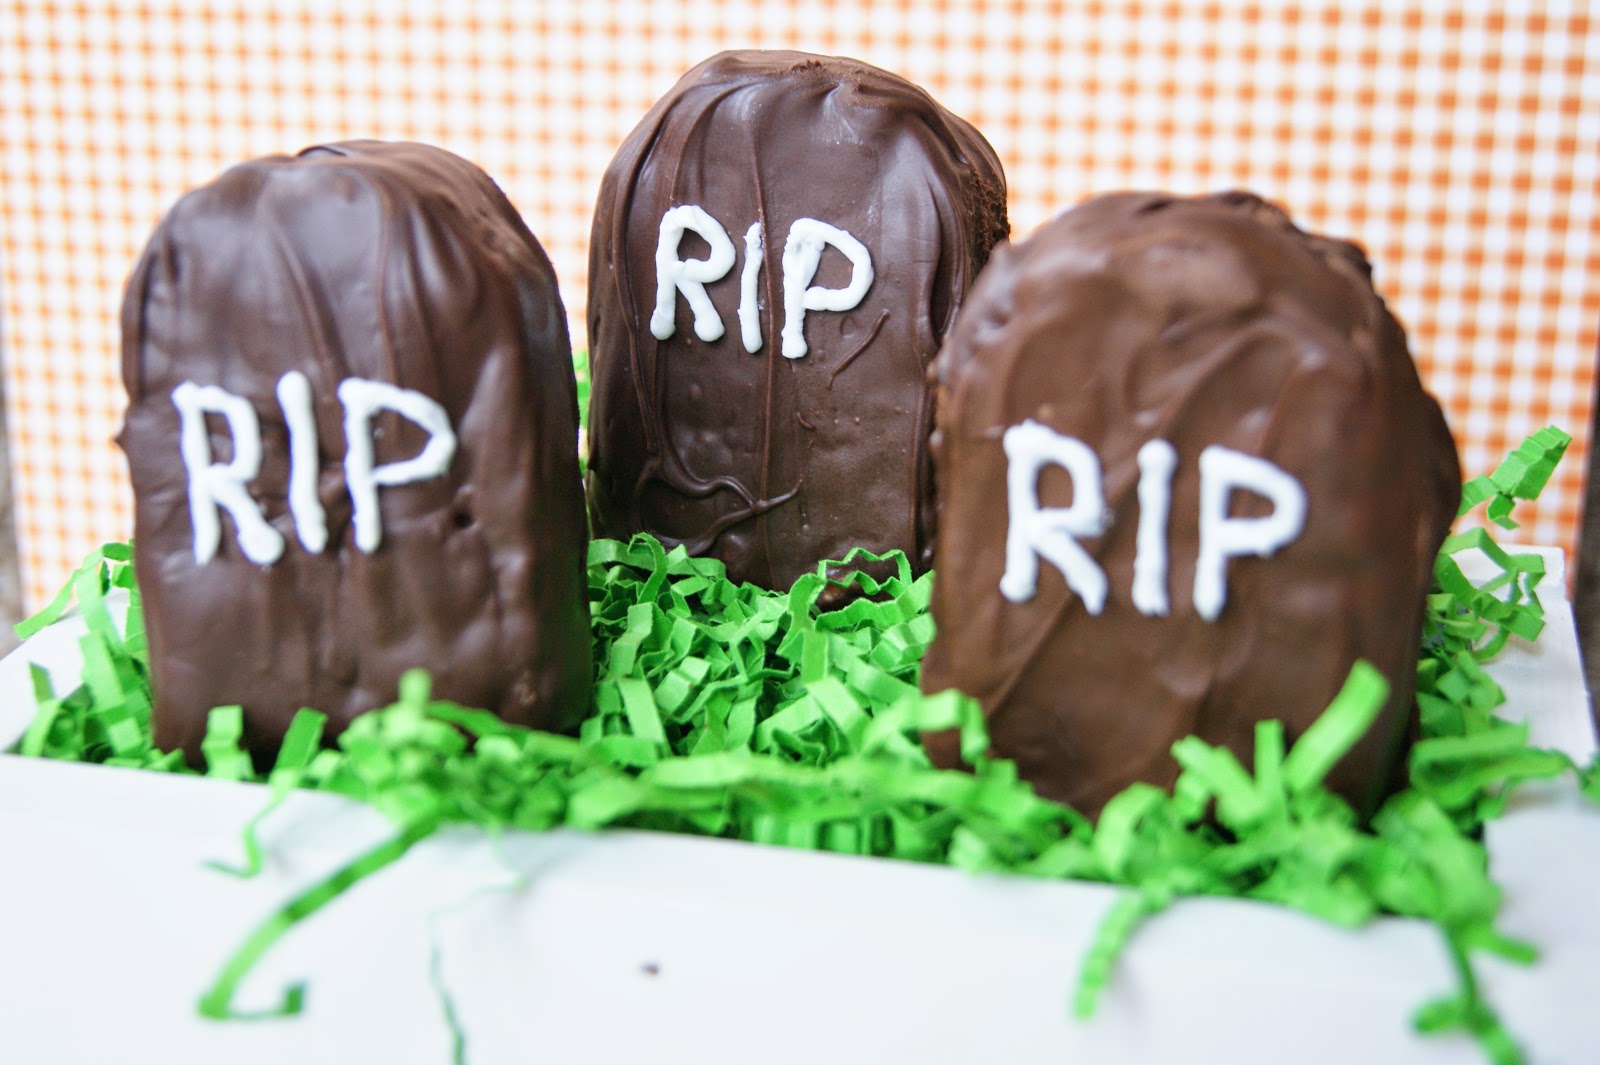
Gravestone Rice Krispie Treats


As for making them, make your rice krispie treats as usual. When cooled, cut them out in the shape of a gravestone. Melt your chocolate and dip the rice krispie treats in until fully covered. When chocolate is fully hardened, use white frosting to write your lettering.

For serving at a party, place treats on a bed of green dyed coconut. How cute would that be?
Enjoy!