02 12

My Recent Posts

Showing posts with label Easter. Show all posts

Wednesday, April 1, 2015

Bunny Tail Easter Treat

It's time for my kids annual Easter treats!!  This year I decided to go with a simple marshmallow treat!  What kids don't like marshmallows, right?  I designed the tags on my Silhouette Cameo, simply cut them out and tied them on.  How simple is that?
Bunny Tail Easter Treats

 Cute, huh?  I'm sure your kids would love them as well!!


Sunday, April 13, 2014

Vintage Easter Tee


 With my daughter's Easter party approaching I noticed that we didn't have an Easter shirt for her to wear.  With that said, I knew just wear to go!  The Graphics Fairy!!  I came across this adorable vintage image, perfect for a little girl!!  We had this plain pink shirt, which was going to work just perfect.  I downloaded the image and printed it onto a iron on transfer paper.  After cutting it out and ironing it on, she'll have a cute easter shirt unlike anybody else's!!

Wednesday, April 9, 2014

Play Doe Carrot Easter Favor

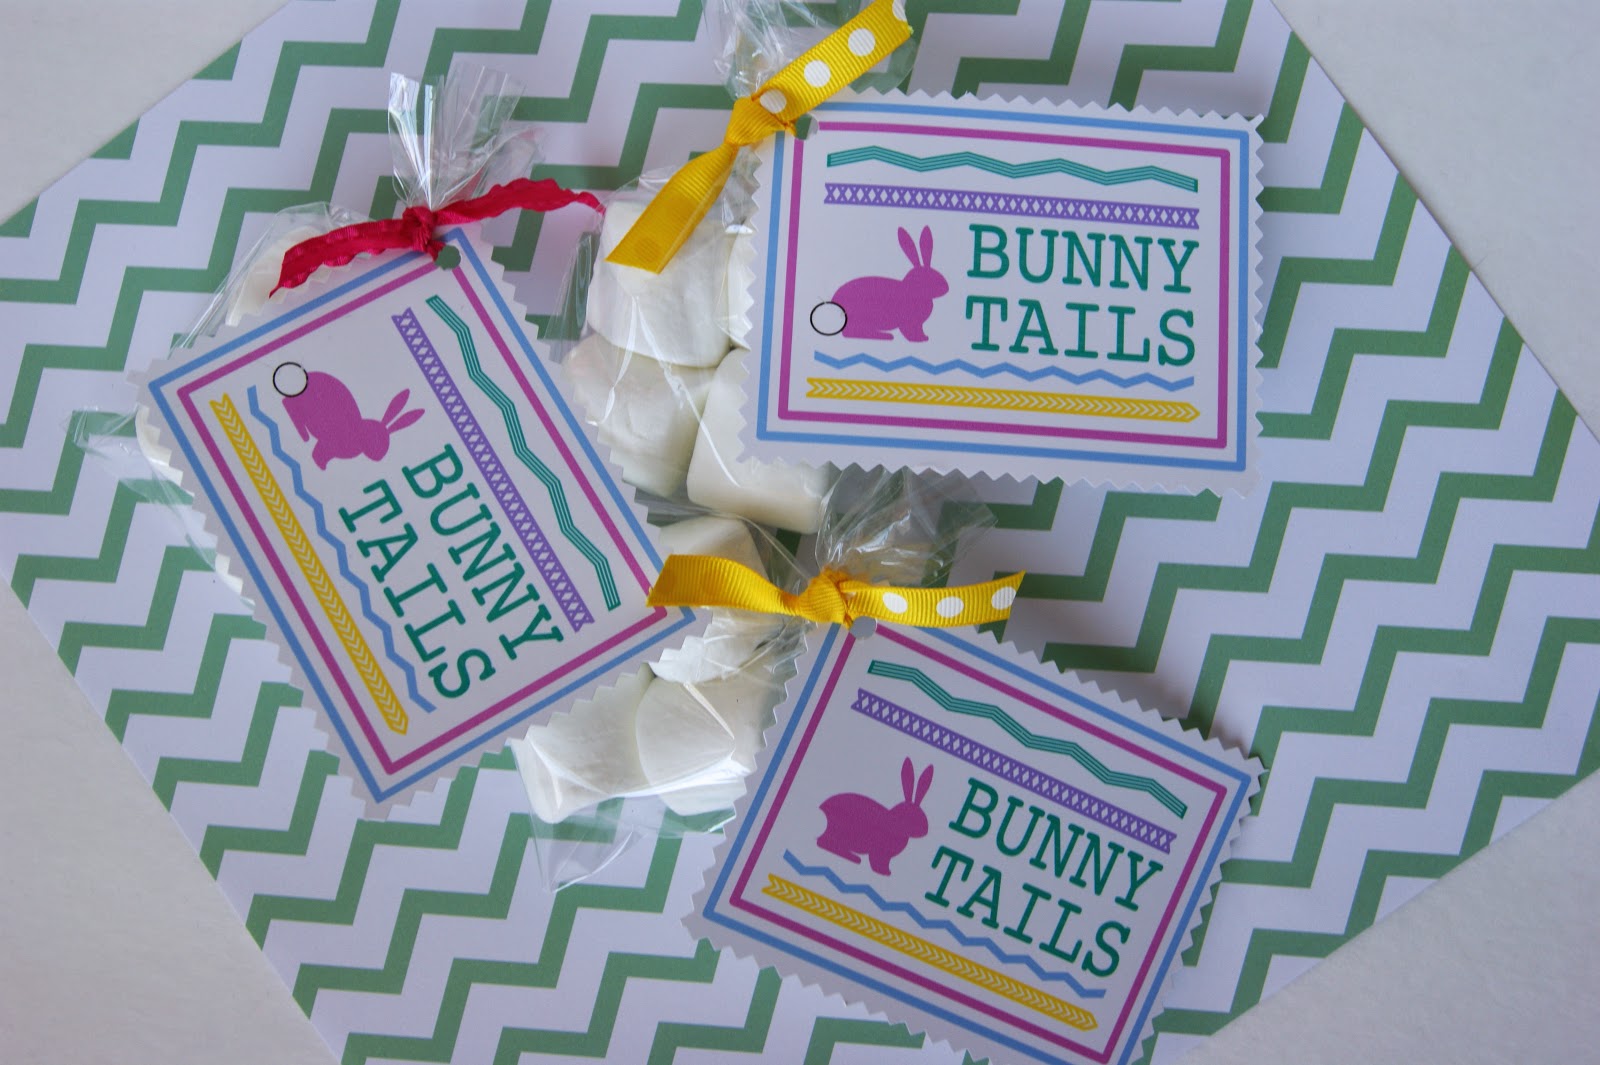
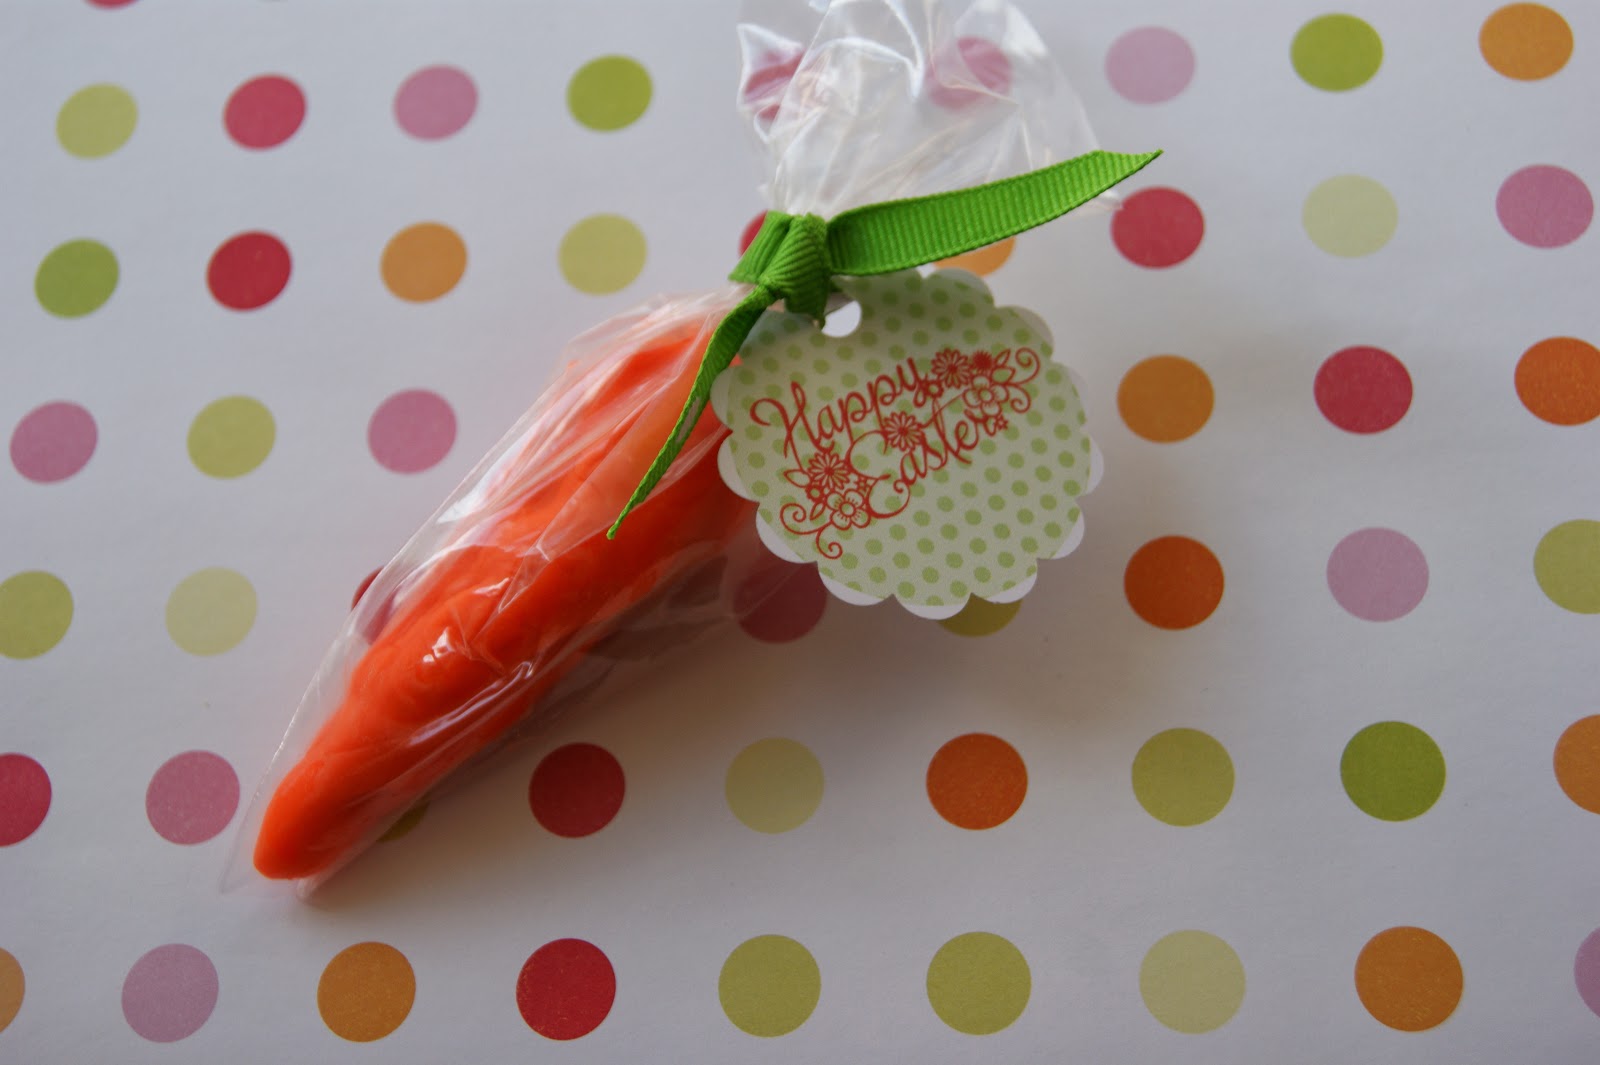
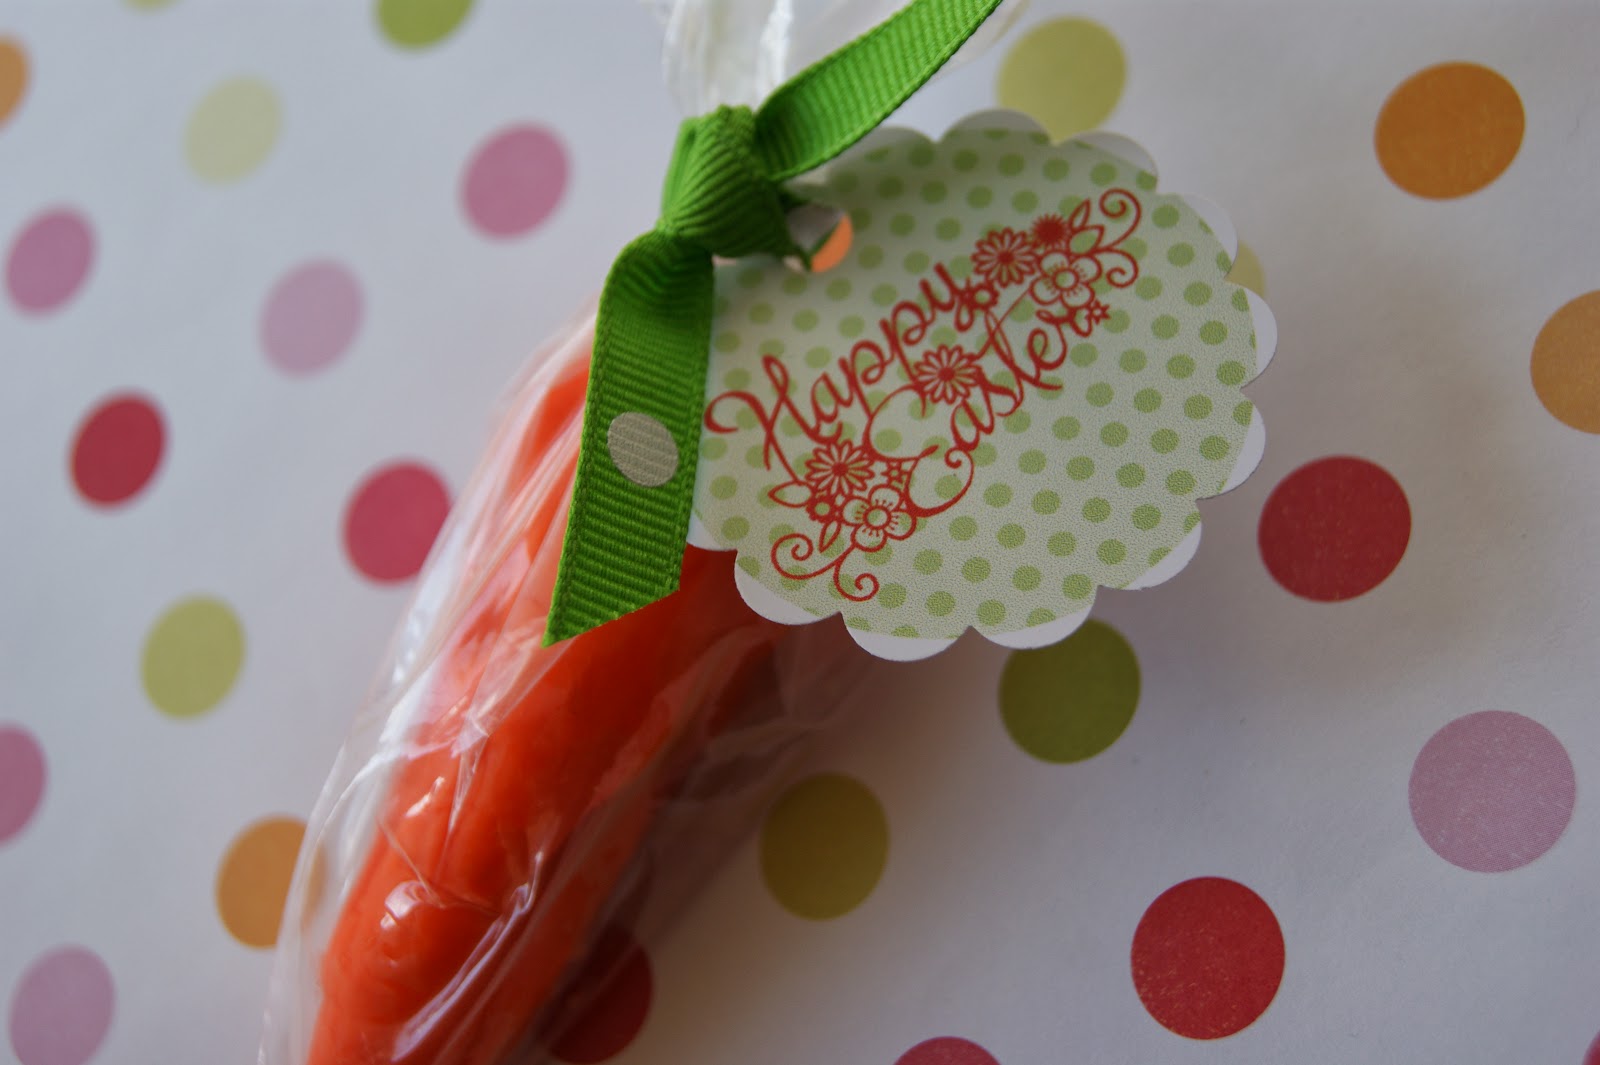
While searching for more easter ideas, I had come across a similar play doe carrot.  So I thought I'd give it a try and make one of my own. The play doe was pretty simple to make. After the play doe was done, I took small pieces and shaped them into a carrot.  I placed them in a small cellophane bag, tied it off, and added a Happy Easter tag.  It's a great alternative than always giving candy!  Of course if you don't feel up to making your own, you can always use store bought play doe!
Here's the recipe, give it a try!

1 cup flour
1 cup water
2 teaspoons cream of tartar
1/3 cup salt
1 tablespoon vegetable oil
orange food coloring
Mix together all the ingredients, except the food coloring, in a 2 quart saucepan.  Cook over low heat stirring.  Once it begins to thicken, add food coloring.  Continue stirring until the mixture is much thicker and begins to gather around the spoon.  Remove mixture onto wax paper or plate to cool!


Thursday, April 3, 2014

Burlap Easter Bunny Canvas


You may have seen my previous post with my burlap stuffed bunny,  I had some remaining fabric left over that I needed to use up.  I decided to cover a canvas with the left over fabric.  I found a image of a bunny which I traced and cut out of burlap.  After glueing my bunny to the covered fabric, I added a bow and topped it off with a ivory broach.  So simple and so elegant!  Can't wait to put it out!


Monday, March 24, 2014

Circus Peanut Easter Treat

With easter approaching, I thought I'd start thinking about some ideas for school treats.  While I was at the dollar store these circus peanuts and green bubble gum sticks caught my eye and I thought they would make the perfect little carrot.  Just break the sticks into small pieces and stick right into your circus peanut.  I happen to have these small white buckets, but you could easily arrange them in a small cellophane bag.  I designed my tags on my silhouette cameo, but you can find many adorable printable "bunny bait" tags on pinterest.  I'm sure my kids will love them and I'm sure your will too!   I mean who doesn't like circus peanuts?


Sunday, March 2, 2014

Stuffed Burlap Bunny


 How cute is this fabric?  Again, not needing any new fabric at all, I just couldn't resist this one!  I don't even know why I bother walking through the fabric section.  Wondering what to do with it, I decided on a stuffed bunny.  I cut out two matching bunnies, one for each side.  I happen to have some thin foam on hand which I used as stuffing.  Using fabric glue, I simply glued all of the edges together.  Using twine to hang the bunny, and adding a bow for some extra decor, it turned out adorably!  Would make a great door decoration for Easter.
Want one of your own, but don't want to make it?  Go to Craft Crazed Mom!

Thursday, August 29, 2013

Easter Canvas

I was in some desperate need of some new easter decorations. As usual, I started searching the web and my house for what I had laying around to use up. I found a pack of empty canvases.  Online I found a bunny template which I cut out.  I taped the cut out bunny on top of the white canvas and spray painted it aqua.  After drying, I pulled the bunny off, added a cotton ball tail, but it still wasn't doing it for me.  With some scrap burlap, I decided to add a little bunting to fill in the empty space.  Now every easter he sits in my living room to bring in the holiday!

Dollar Easter Decorations!

 I know it's just August, but since I've just started my blog now, I'm going to try to update you on my past year creations!  I found some cheap easter eggs at home and decided to spruce them up.  First off, I took some newspaper and cut in to strips about half an inch wide.
 Load the eggs up with Mod Podge, strip by strip cover the eggs, until entirely covered.  Remember to put on wax paper or the eggs are going to stick!
Let dry and display in nest or where you'd like!
Related Posts Plugin for WordPress, Blogger...

Follow by Email

Follow Me On

Loading...

Total Pageviews

Check out all of my pallets!

Google+ Followers

My Etsy Shop

My Latest Pins!

' $(e).html(html); //correct href for images so they point to Pinterest $(function() { $('.rssFeed a').each(function() { var href = $(this).attr('href'); $(this).attr('href', 'https://www.pinterest.com' + href); $('.rssFeed img').attr('nopin','nopin'); }); }); }; })(jQuery); })(jQuery);

My Etsy Shop

Where I Contribute

This Silly Girl's Life

Grab My Button