02 12

My Recent Posts

Showing posts with label wreath. Show all posts

Thursday, November 6, 2014

Mud Room Makeover

Since we moved in six years ago, my mud room has always been a room I needed to give a desperate makeover!  It had dark tan walls, which makes a room with no windows very dark.  I'm so happy with how it turned out, and definitely alot brighter!
Mud Room Makeover

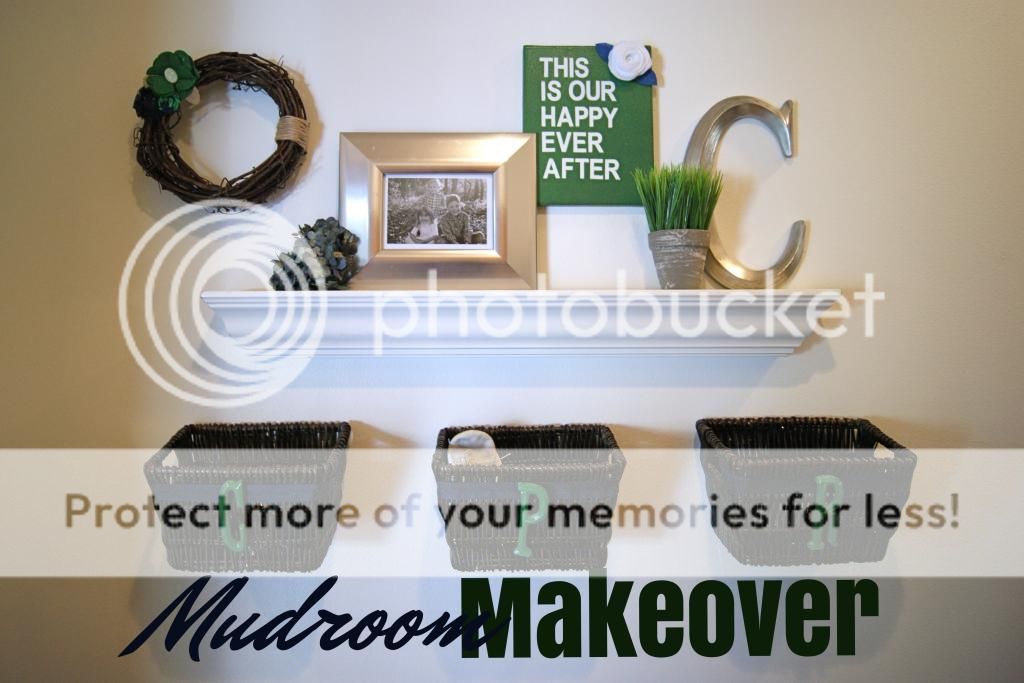
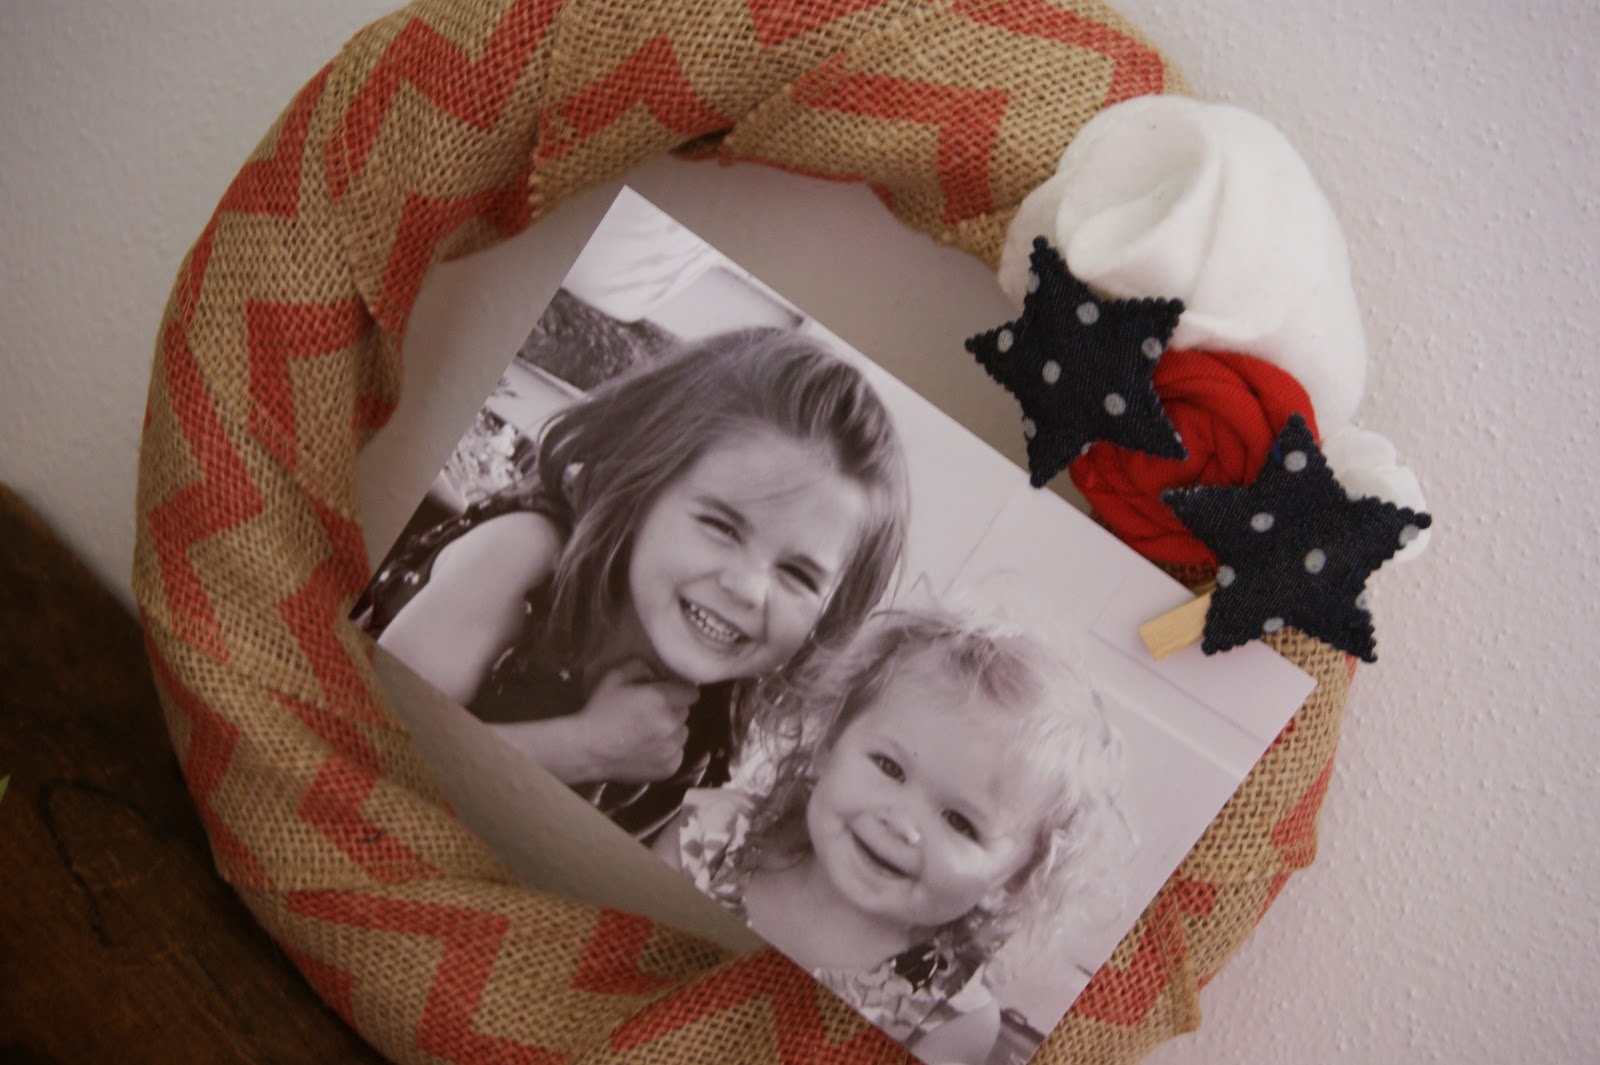
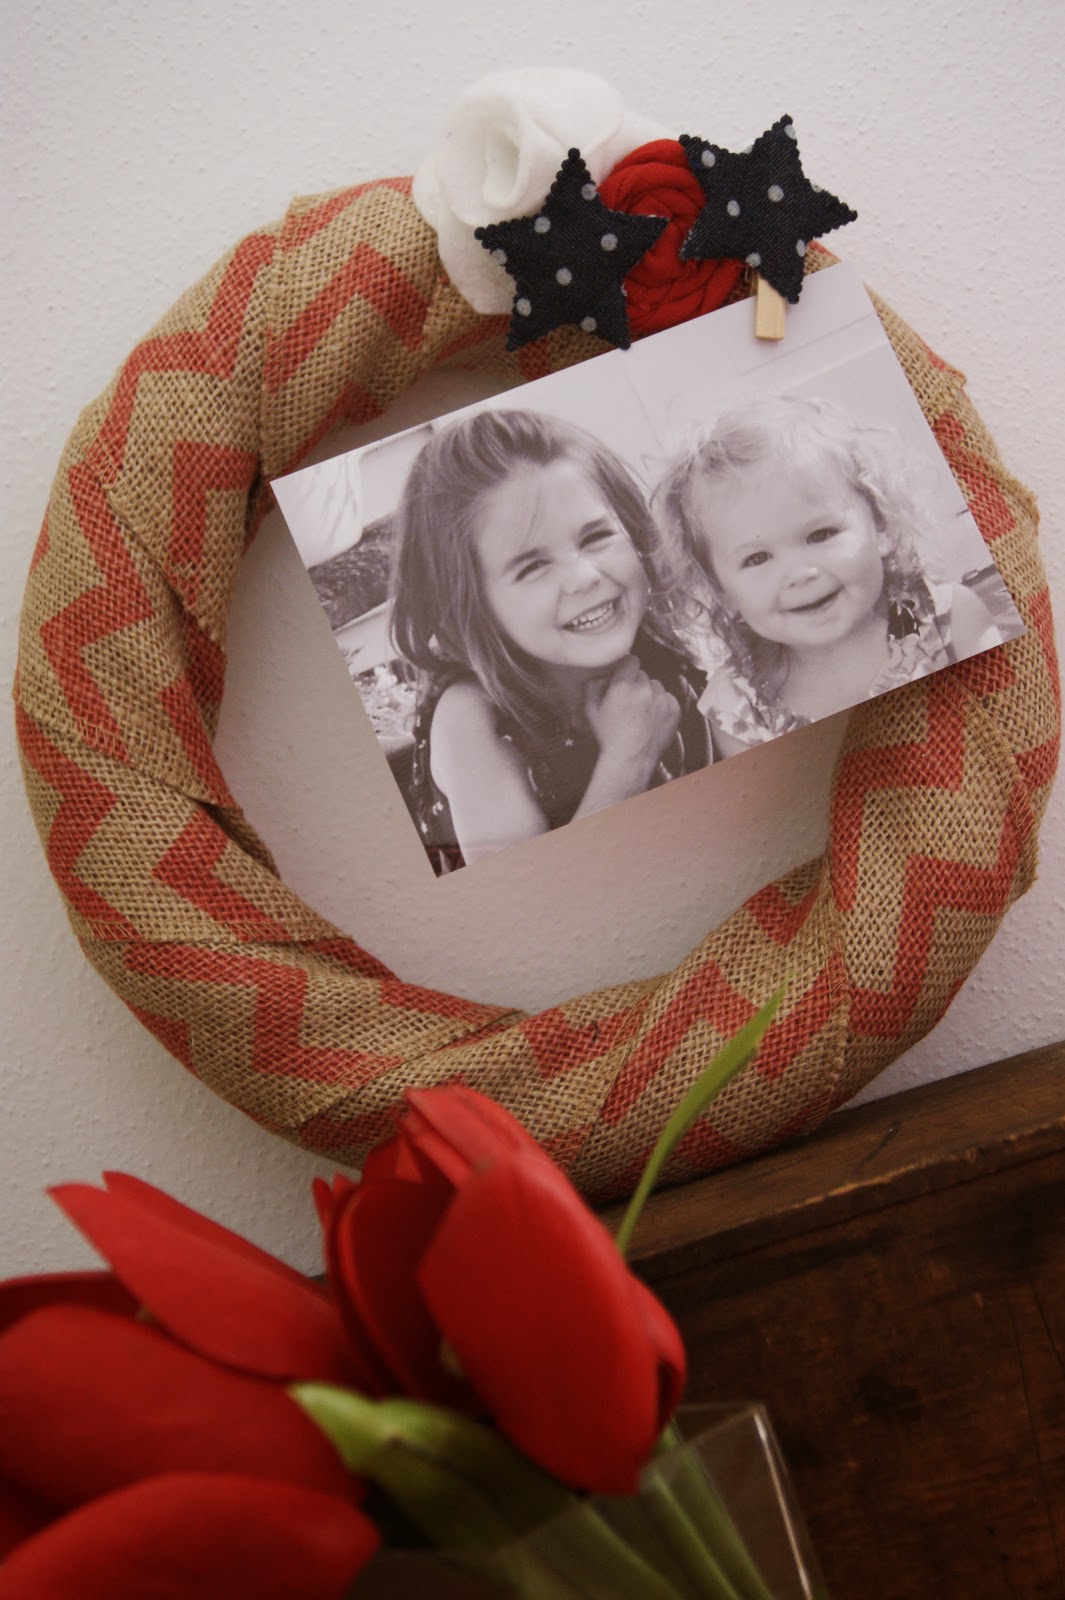
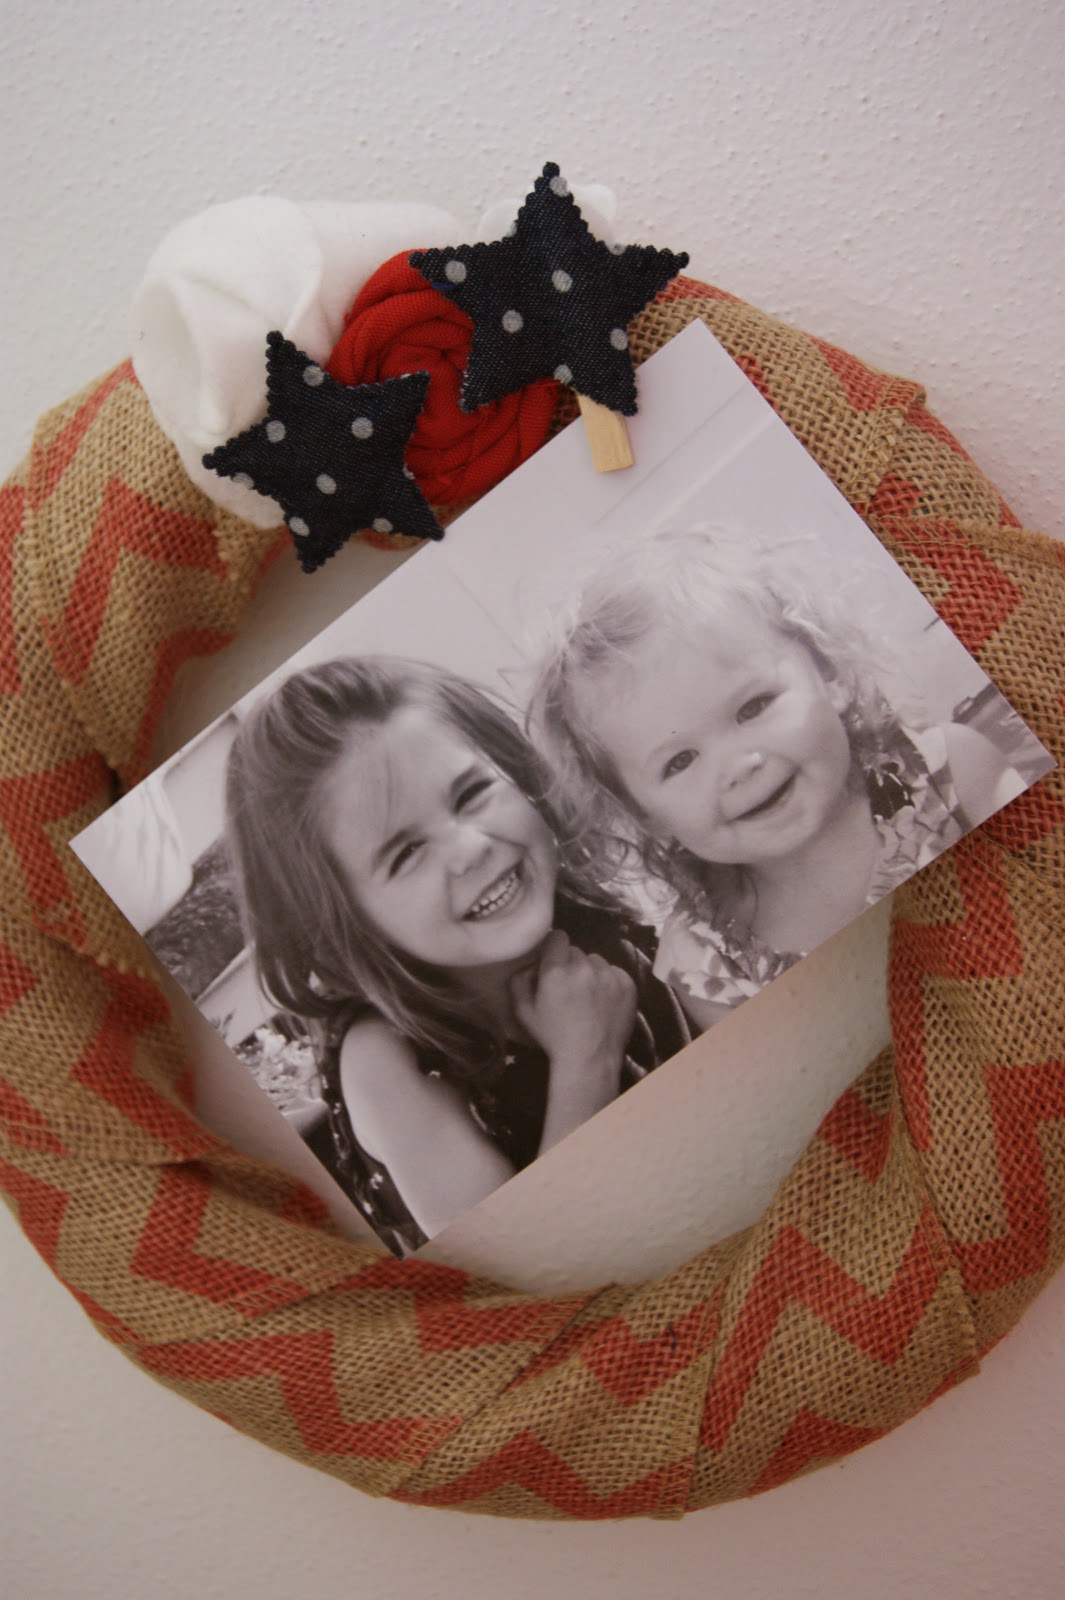
 Well, as you can see, I decided to paint the walls a nice bright white.  As for my accent colors, a kelly green and navy blue really stood out!  For the wall decor, I searched my home for anything I wasn't using, even if that meant painting it.  The large mirror used to be white, which after spray painting, made the perfect piece for my side wall.  The shelf, I happen to come across at Good Will (for some reason, I always grab shelves when I see them).  The baskets, I had, but decided to add a monogram to each so the kids each have their own little catch all.  The grapevine wreath was plain, but after adding some fabric flowers and twine, it fit in just perfect.  And to me every gallery wall needs, a monogram, a quote of some sort, and of course, photos!!


 Those baskets will be so useful!


Monday, June 16, 2014

4th of July Photo Wreath

I was in need of some Forth of July decorations, so I decided to make a small wreath with this foam form I had sitting around.  I'm obsessed with anything chevron right now!  And what screams the Forth more than some stars!
Forth of July Photo Wreath

 Why not use a wreath as a frame I thought?  This red chevron burlap ribbon worked perfect to cover my foam wreath.  After it was wrapped, I added some fabric flowers and these adorable denim hearts that I happen to come across at Goodwill.  That when it hit me.  Everything I held up to give it a little wow factor, I just didn't like.  Until I thought of a photo and I loved the way it turned out.  I simply added a mini clothespin to hold the picture.  I just might have to make one for year round!!


Friday, March 21, 2014

Spring Wreath Alternatives

As I was browsing through pinterest, I had come across so many neat ideas for spring door ideas.  I'm always looking for something a little more creative than just a wreath.  I was overwhelmed with all of the options and thought I'd share some of my favorites with you.  Take a look!

Tuesday, February 25, 2014

Ahoy Wreath


 As you may have read earlier, I'm giving my son's room a make over with a nautical theme.  Also trying to use up some old supplies that have been sitting around for ever, this project was perfect.  Using up a large foam wreath, white yarn, and some scrap fabric.  I did have to go purchase the rope.  To start off, I wrapped the whole wreath with white yarn.  Than adding the rope around the four sides.  As usual, I looked at it, and still wasn't satisfied.  After deciding to add a small banner reading "ahoy", I thought it looked great.  
I'd be happy to make one for you too, go to Craft Crazed Mom!

Thursday, February 20, 2014

Pink Yarn Wreath


 I've been looking to make some new decor for my daughters room, so I decided to take a look around and see what I had to use up.  I found a 12" foam wreath, which I thought would be perfect.  I had some pink yarn to use to cover it and some scrap fabric to add some accents.  And like always, added a vintage jewel to top it off.  The perfect addition to her room I was looking for!!
Order one of your own at my etsy shop, Craft Crazed Mom.

Wednesday, November 13, 2013

Book Page Wreath


 Yes, another wreath.  I'm starting to wonder where I'm going to go with them all.  When I did my Weekly Top 10 on wreaths last week, I guess I was inspired.  For this one, I first cut out a circle out of a piece of cardboard.   


Next, I started rolling my book pages.Overall it took around 40 pages.  After your book pages are done, hot glue them on in a circular motion.  When my wreath was complete, I added a badge to the center by folding a piece of craft paper as you see in the photo.

I very lightly attached a snowflake to the center, allowing me to pull it off and change it out when needed.  As I said earlier, now I just need to find a place for this one!

Sunday, November 10, 2013

Holiday Burlap Wreath


I've seen so many of these burlap wreaths and I've always wanted to make one of my own.  I started by buying a metal wreath ring and two rolls of burlap ribbon.  The process is so simple.
You start by pulling small loops threw each of the three gaps in the ring.   Work your way around the ring, pushing the fabric aside to give it the fullness you desire.   


After I was done, I found a peace sign that I had and thought it fit the wreath perfectly.I didn't want to glue my sign on for good, allowing me to change it out seasonally.  To attach it, I glued a twist tie to the back to wire it on.  I also added a felt poinsettia, a bow, and a few christmas greens.  Now I have a beautiful wreath I'll be able to use all year round!


Friday, November 8, 2013

Holiday Yarn Wreath


 I won't lie, this wreath was the most time consuming craft I ever made!  I started by making endless loops of yarn.  It took a lot of hours in front of the TV!  I honestly couldn't tell you how many loops it took in the end.  I suppose I should have counted!
 After my loops were all made, I started tying them on to my metal wreath ring. As you get close to the end, you might need to fill in depending on how full you want it.  When my wreath was done, I added a bow to coordinate with where I planned on putting it and hung an ornament to give it that holiday sparkle!

Related Posts Plugin for WordPress, Blogger...

Follow by Email

Follow Me On

Loading...

Total Pageviews

Check out all of my pallets!

Google+ Followers

My Etsy Shop

My Latest Pins!

' $(e).html(html); //correct href for images so they point to Pinterest $(function() { $('.rssFeed a').each(function() { var href = $(this).attr('href'); $(this).attr('href', 'https://www.pinterest.com' + href); $('.rssFeed img').attr('nopin','nopin'); }); }); }; })(jQuery); })(jQuery);

My Etsy Shop

Where I Contribute

This Silly Girl's Life

Grab My Button